

Welcome!
This post is going to briefly cover using the Home Screen and editing your preferences in Affinity Designer 2 for iPad. There is, of course, a lot of information that can be covered in these areas, however, I’m only going to cover the basics for now, so a beginner can easily adjust their settings to their liking. That way they can get right to the fun stuff - making artwork!
Let’s begin!
When you open Affinity designer for the first time, the screen you will be greeted with is the Home Screen. Since you will not have created any documents yet, it will default to the Samples page (so you have something nice to look at!).

These samples can be download and opened so you can see how the artists created the artworks!
Now let’s briefly go over all of the options on the left side of the screen:
Affinity Designer Logo - If you click on this logo a drop down will open with several options. The main option I use is ‘About’, as this section contains the installed version of Designer, and license information.
Live Docs - This is where all of your in-progress documents will be located.
New - Clicking this option reveals a drop down with several options for starting a new document.
Open - Here you can open/import documents from your iPad or cloud storage, and import from your photos.
Templates - This option allows users to set a specific location for templates they have created.
Help - A direct link to the Designer for iPad online help. You can set the help section to update automatically.
Account - If you have add-ons, they will be stored in this section. This area also details the version of Designer you are running, and your operating system.
Preferences - Here you can adjust different settings within Designer.
The two areas that I’d like to go over in further detail are the Preferences menu and starting a new document. In this post I’ll cover Preferences. In the next post I’ll go over starting a new document, and the Designer interface.
Preferences
Some of the preference categories have quite a few options/settings. To keep things simpler, I will only cover settings that I have adjusted, or that I think are important to take note of.
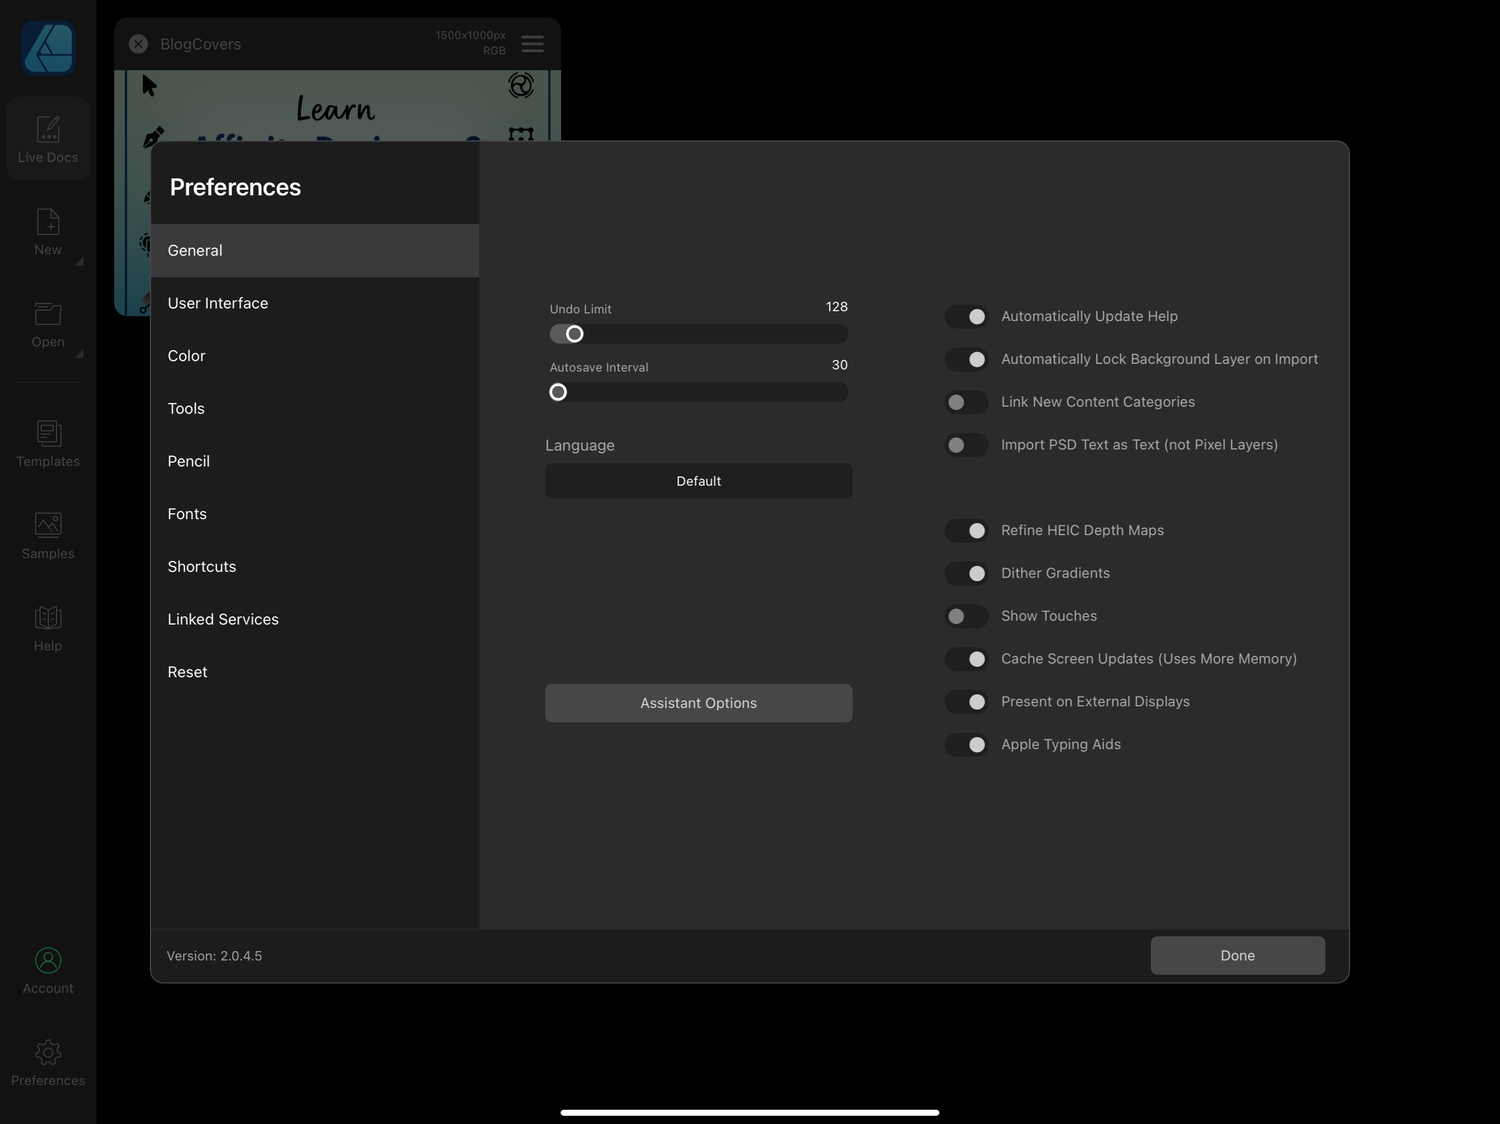
General
Undo Limit - Here you can adjust how may undo actions are available. The maximum number is quite high, however, I have found that using a higher undo limit can create some lag if you are working on larger documents. I generally keep the limit to the default of 128.

Autosave Interval- This determines how often a copy of your document is saved within Designer (metric is in seconds). It is important to note, this does not save to your iPad or cloud storage, but within the Designer app. I usually keep this set to 30 seconds (lowest available option), as this minimizes the amount of work lost in the case of a crash.
Automatically Update Help- Keeps the help section synced for the most accurate information.
Automatically Lock Background Layer on Import- Applies to photos, documents, etc.
Show Touches- This will show a blue translucent circle wherever your finger or Apple Pencil touches the screen.
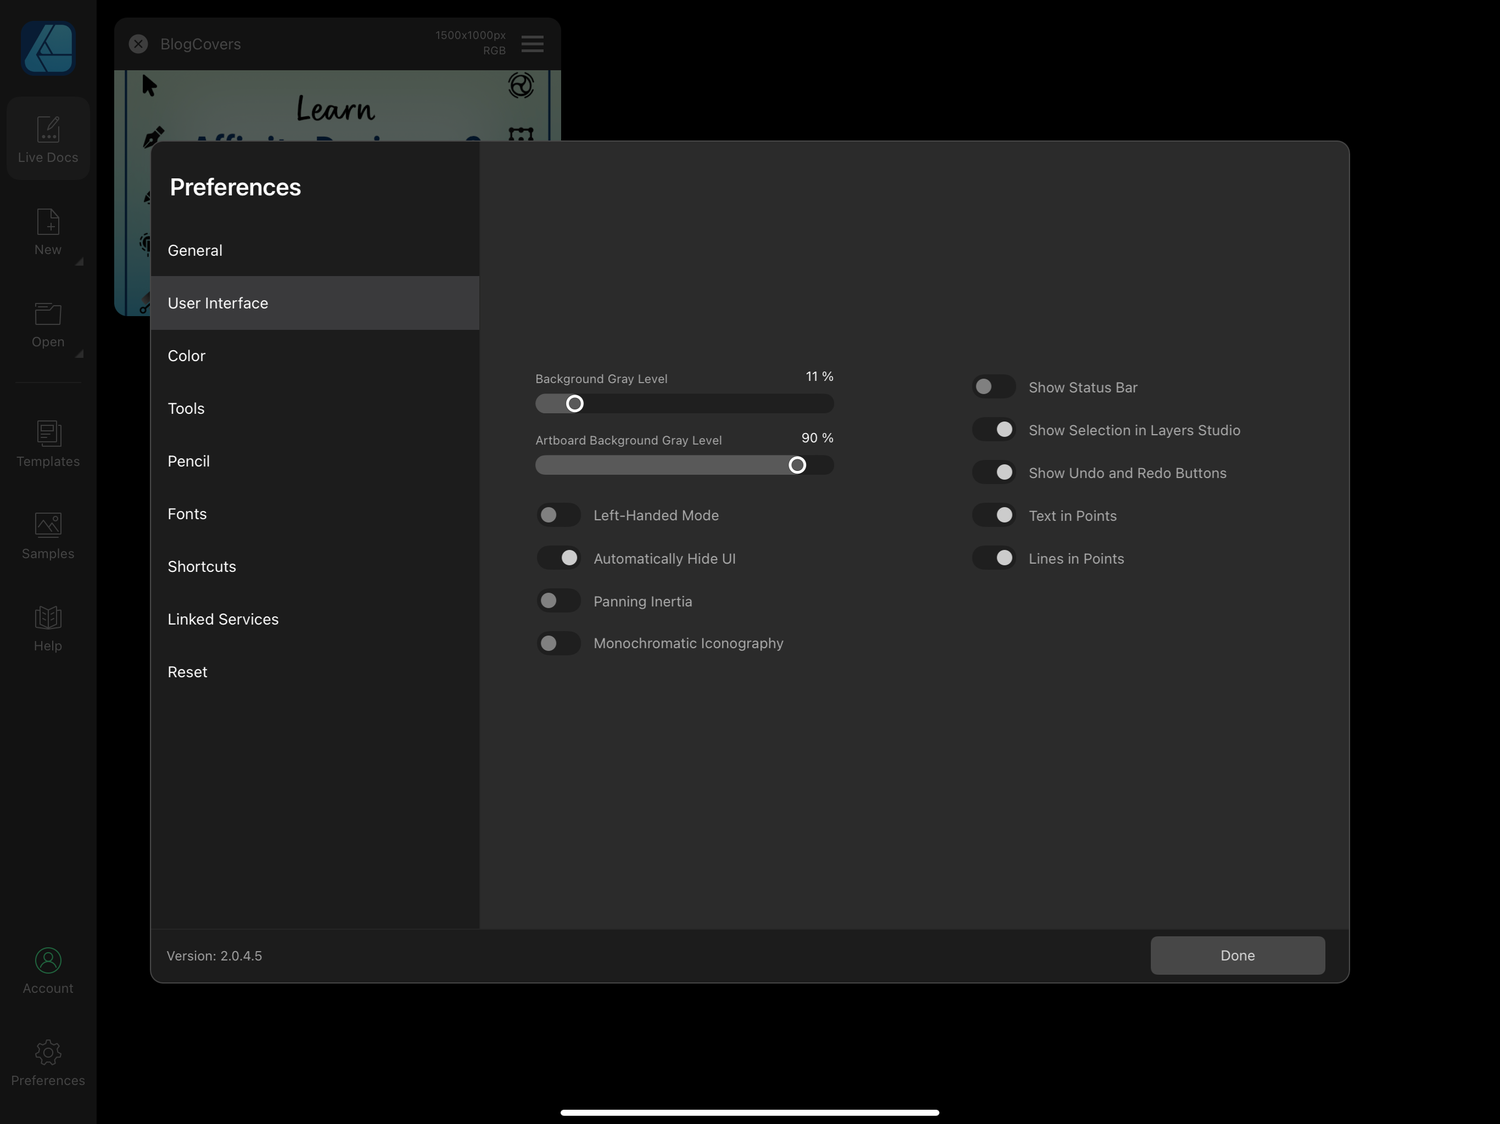
User Interface
Background Gray Level- Change how light/dark the background is for documents.
Artboard Background Gray Level- Change how light/dark the background is for documents with art boards.
Automatically Hide UI- This will hide the user interface when you are working in an area close to the edge of the iPad, and return the user interface to normal when you move away from the edge.
Show Status Bar- This displays a text bar at the bottom of the screen, which details options based on what tools/objects you have selected.
Show Selection in Layers Studio- This automatically selects an object in the layers studio, when it is selected on the canvas. I find this useful to have on, especially if I’m working on a document with many groups, objects, and layers.
Show Undo/Redo Buttons- Adds Undo/Redo arrows to the right side of the UI. While Designer does support the two-finger tap/three-finger tap undo/redo, I find it useful to have the actual buttons as well.

Color
Here you can adjust the default color space for new documents (sRGB, CMYK, etc). I personally leave all of these settings in their default options.
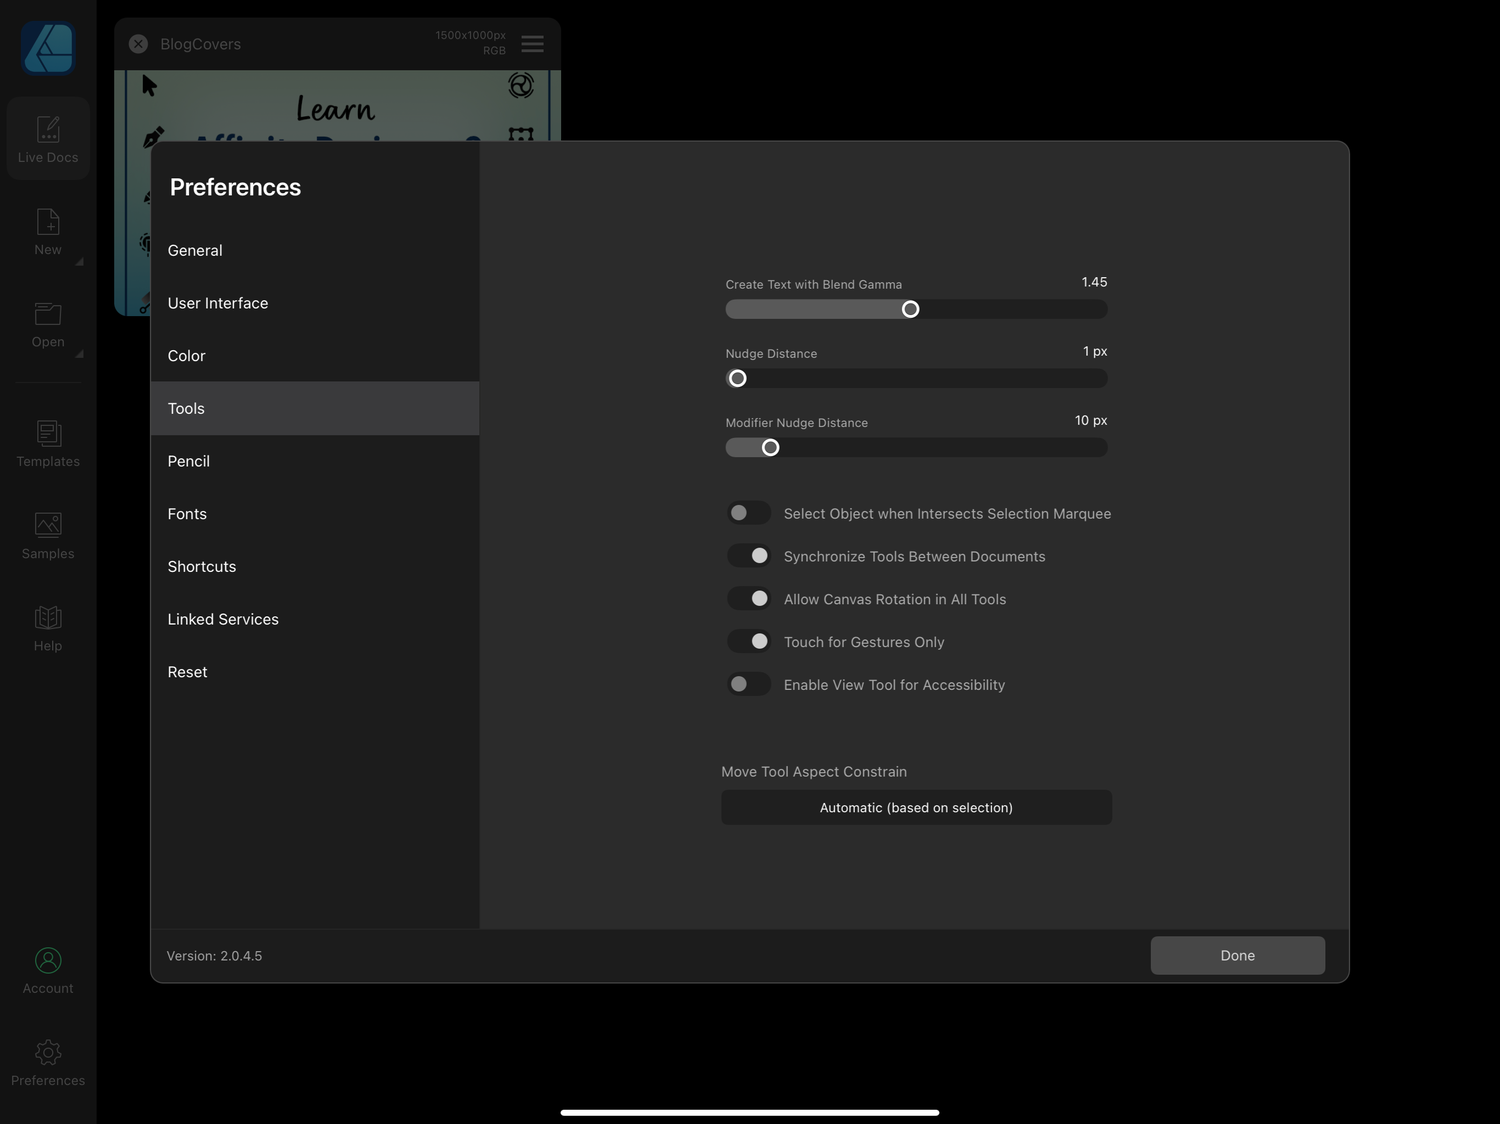
Tools
Nudge Distance- Set the default nudge distance, nudge currently only works with a keyboard.
Select Object when Intersects with Selection Marquee- With this option on, you can marquee around any portion of an object to make a selection, rather than having to marquee around the entire object. I leave this option off as otherwise, I find I can too easily select unwanted objects.
Synchronize Tools Between Documents- Keeps tool settings the same from one document to another.
Allow Canvas Rotation in All Tools- Unlocks the canvas and allows rotation with two fingers by default.
Touch for Gestures Only- Useful to have on when using an Apple Pencil, to avoid accidental drawing/editing with your finger.
Pencil
Here you can set Apple Pencil double tap options and adjust the pressure curve of the Apple Pencil.
Fonts
Any installed fonts are shown in this section. You can install new fonts by clicking on the cloud icon in the bottom left. Installed fonts can be deleted by selecting them and clicking the delete button.
Shortcuts
Here you will find a list of available keyboard shortcuts. These may be customized by clicking on the shortcut, pressing clear, and entering your custom shortcut.
Linked Services
Here you may manually link your Dropbox account to Designer. If you have an iCloud account, it will be automatically linked.
Reset
Here you can select certain items to reset (or reset them all) in the instance of specific issues within the Designer app.
That’s it for the Preferences overview, and options that I find most useful/helpful! In the next post, I’ll quickly go over starting a new document and the Designer interface!
Thanks for reading!
Jocelyn
Comments ()